
How to Make Your Own Tickets for Events That Look Professional
If you want to make your own tickets for events, the goal is not just to create something that looks good in a wallet app or inbox. A professional ticket has to do four jobs at once: confirm the purchase, explain what the attendee bought, support smooth check-in and reinforce trust in the event.
That matters whether you are promoting a club night, running a workshop, producing a local festival or selling seats for a private showcase. The ticket is often the first paid object your attendee receives from you. If it feels confusing or homemade in the wrong way, that doubt can carry into arrival, entry and even future sales.
Professional tickets do not require a large design budget. They require clear information, controlled ticket inventory, a smooth checkout and a repeatable process your team can trust. This guide walks through how to create tickets that look polished and work well in practice.
Start with the job your ticket needs to do
Before choosing colors, fonts or templates, define what the ticket must accomplish. A beautiful ticket that fails at the door is not professional. A plain ticket that gets attendees checked in quickly, shows the right details and prevents misunderstandings is already doing most of the work.
For most organizers, a ticket needs to answer these questions instantly:
- What event is this for?
- When and where does it happen?
- What type of admission did the buyer purchase?
- What should the attendee bring or know before arrival?
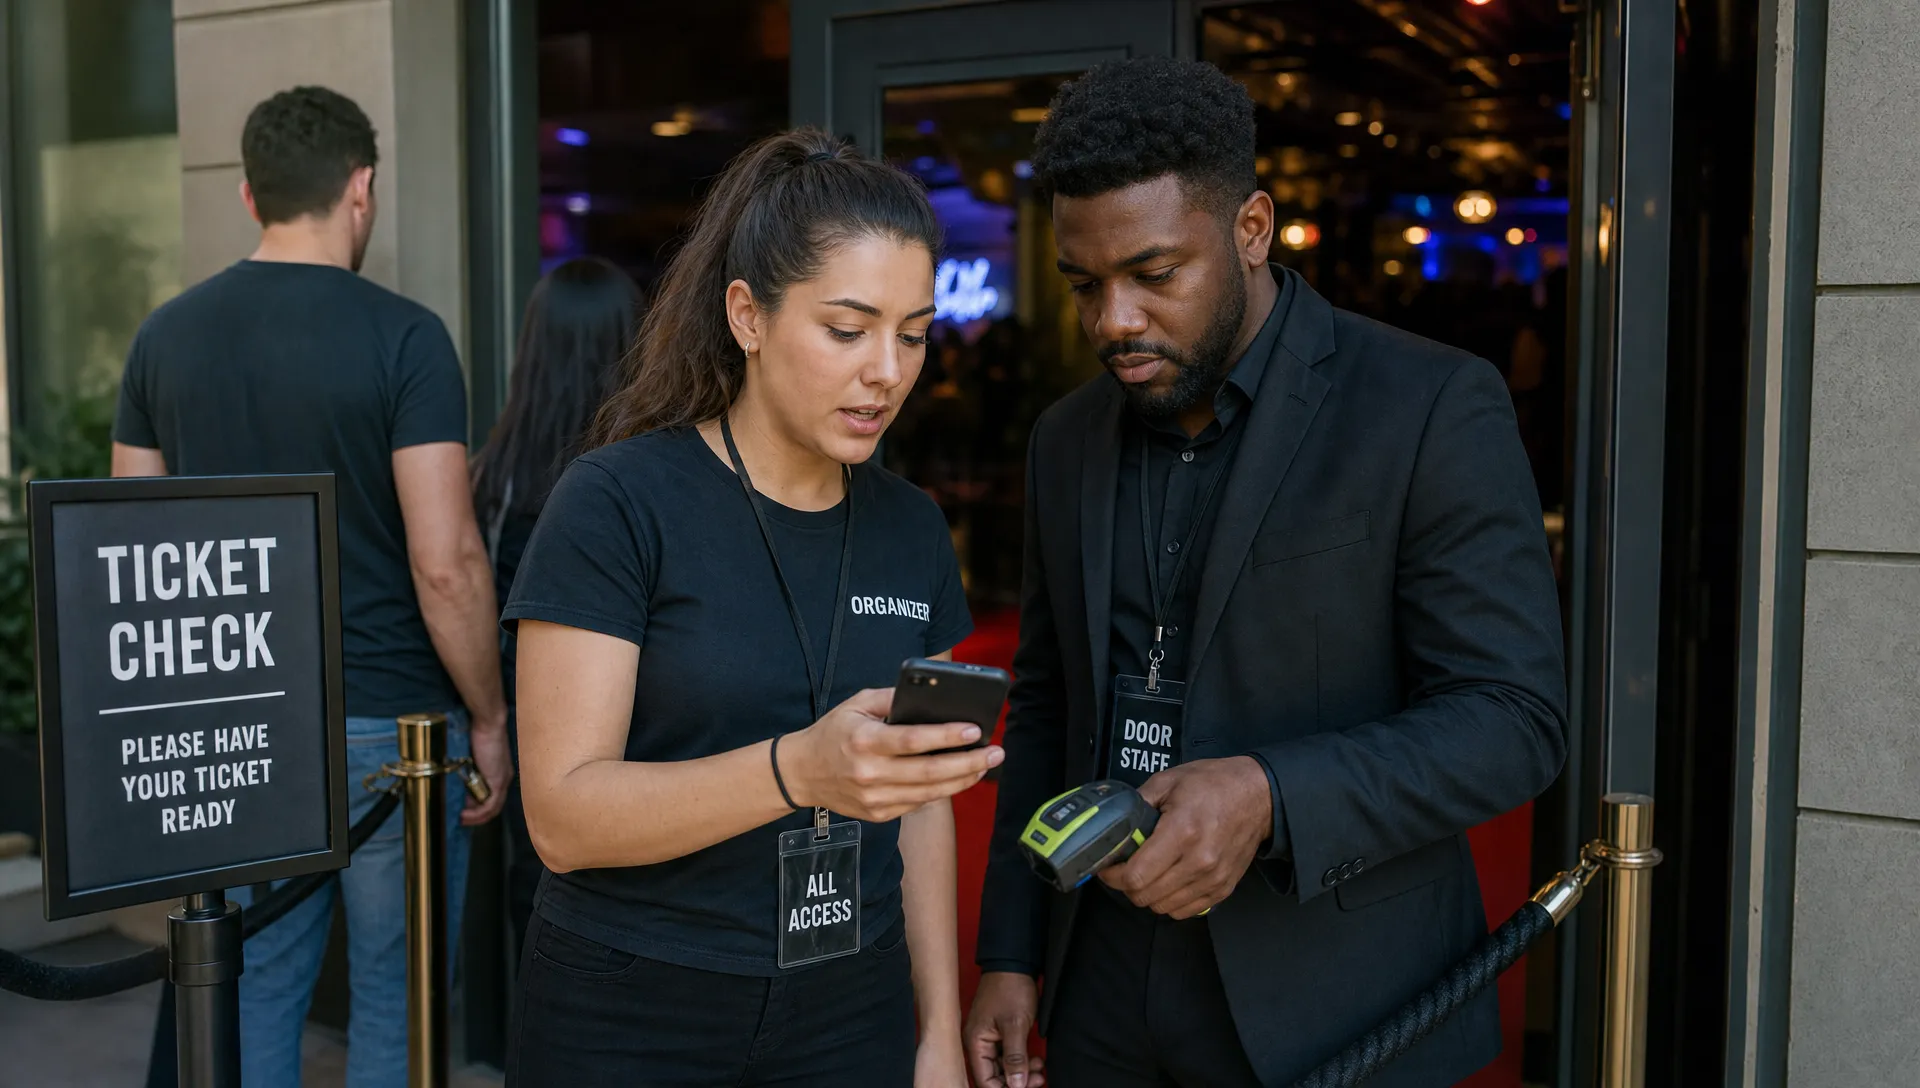
- How will the door team confirm the ticket is valid?
The last question is where many DIY ticket workflows break down. A graphic made in a design tool might look polished, but unless each ticket is unique, traceable and connected to a guest list or check-in process, it can create problems. Duplicates, screenshots, manual lists and unclear ticket tiers all slow down entry.
A professional process separates the visual layer from the operational layer. Design makes the ticket feel credible. Ticketing software makes it usable.
Choose the right ticket format for your event
There are three common ways to create event tickets. The right choice depends on your audience, door setup and how much control you need over sales.
| Ticket format | Best for | Watch out for |
|---|---|---|
| Printable tickets | Formal events, seated shows or audiences that expect paper | Attendees may forget them, print quality varies and manual validation can be slow |
| Digital tickets | Concerts, club nights, workshops, pop-ups and modern attendee groups | The design must be readable on small screens and easy to find in email |
| Physical custom tickets | VIP packages, collectible events or premium brand experiences | Inventory control, loss, shipping and fraud prevention require extra planning |
For most independent organizers and music producers, digital tickets are the practical default. They are faster to deliver, easier to update around event changes and simpler to connect with a digital guest list.
Physical tickets can still be valuable when they are part of the experience. For example, a limited-run album launch or private listening event might use printed passes for VIPs. In that case, the printed ticket should support the same structure as your digital system, with clear ticket names, unique identifiers and a guest list that your door team can rely on.
Build the ticket around essential information
A ticket should not read like a flyer. A flyer sells the event. A ticket confirms the transaction and guides the attendee.
That distinction keeps your design clean. Once someone has bought, they need certainty more than hype. Use the ticket to make attendance feel simple.
| Ticket element | Why it matters | Professional tip |
|---|---|---|
| Event name | Confirms the ticket matches the right event | Use the exact public event name from your event page |
| Date and time | Prevents arrival mistakes | Include doors open time if it differs from start time |
| Venue name and address | Helps attendees plan travel | Add room, entrance or floor details when relevant |
| Ticket type | Clarifies access level | Use names buyers understand, such as General Admission, Early Entry or VIP |
| Buyer or attendee name | Helps with support and check-in | Decide whether tickets are transferable before sales open |
| Order or ticket ID | Supports validation and customer service | Make it visible without letting it dominate the design |
| Entry instructions | Reduces door questions | Keep instructions short and action-oriented |
| Refund, age or policy notes | Protects expectations | Link longer policies from the event page instead of crowding the ticket |
The ticket type deserves special attention. If you sell multiple tiers, the names should be clear enough that a door staffer can understand them under pressure. Avoid clever internal labels that only make sense to your team.
For example, “Wave 1,” “Wave 2” and “Wave 3” may work for pricing phases, but they are not always useful as access labels. If every buyer receives the same admission, use a ticket name like “General Admission” and let the sales phase live behind the scenes. If access is different, make that difference visible, such as “VIP Balcony” or “Backstage Meet and Greet.”
Design the ticket like someone will scan it fast
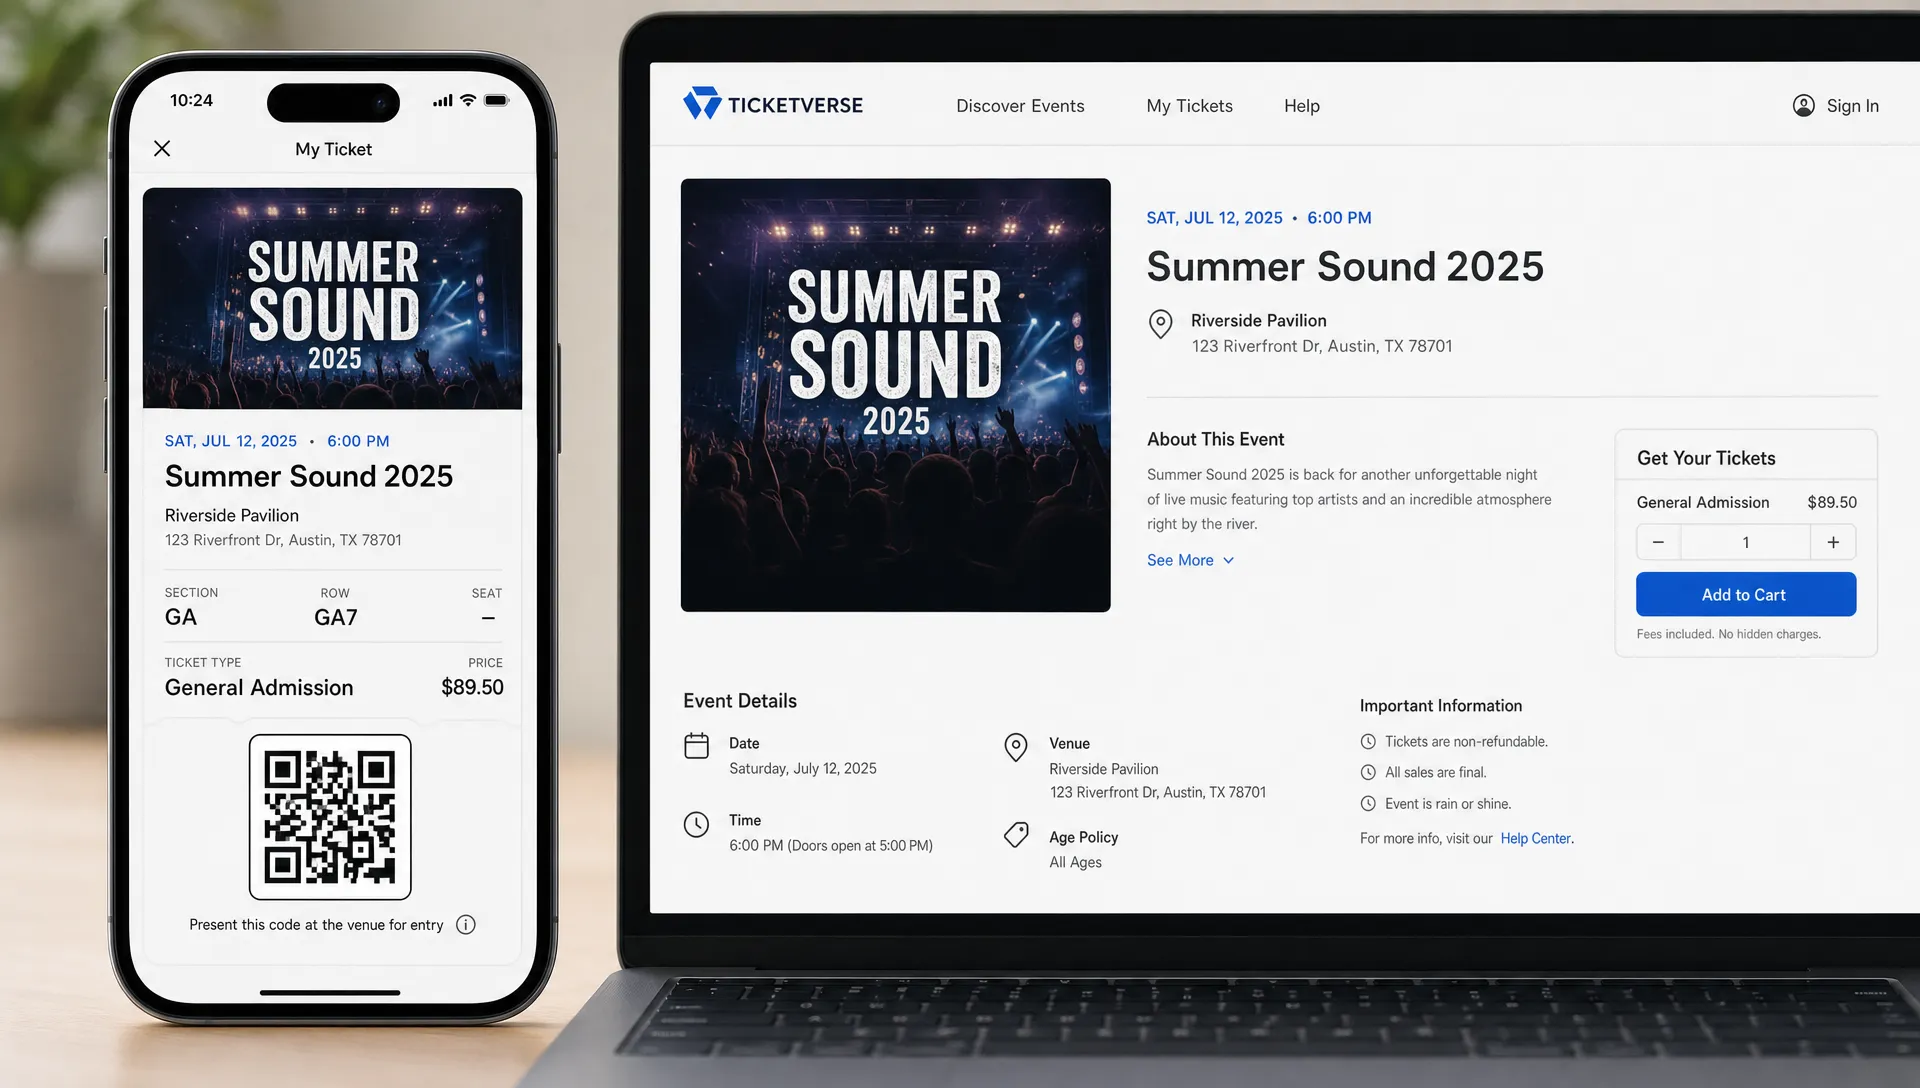
Professional ticket design is mostly hierarchy. The attendee should find the event name first, then the date, venue and ticket type. Everything else supports those details.
Use one primary font for the main information and a second font only if it improves the brand feel without hurting readability. Limit color choices to your event palette, but do not sacrifice contrast. For digital tickets, W3C accessibility guidance on contrast is a useful reference because many people will read their ticket on a phone outside, in a dark venue line or with low battery brightness.
Whitespace is part of the design. Crowding every sponsor logo, instruction and social handle into the ticket makes it feel less premium. Put the most important operational details on the ticket itself. Move promotional or long-form content to the event page, confirmation email or pre-event reminder.
A clean structure usually works better than a decorative one:
- Top area: event name and brand mark
- Middle area: date, time, venue and ticket type
- Bottom area: ticket ID, validation code or entry instructions
If you want to go deeper on the visual side, TixFlow has a separate guide on how to customize tickets for a stronger event brand. For the information hierarchy specifically, this guide on designing an event ticket layout buyers can scan fast is a useful companion.
Make ticket tiers look organized, not improvised
Ticket design becomes harder when your pricing plan is messy. If you create too many ticket types, buyers hesitate. If the names are vague, support questions increase. If sales phases are handled manually, mistakes become more likely.
Start with the simplest ticket structure that supports your event strategy. A small show may only need General Admission and VIP. A workshop may need Standard Admission, Student Admission and Group Admission. A club night might use Early Bird, Advance and Final Release, but each should represent a clear buying moment rather than a random price change.
Your ticket page and your ticket design should match. If the checkout calls a ticket “Early Bird General Admission,” do not shorten it to “EB GA” on the ticket unless your audience uses that language naturally. Consistency makes the experience feel more professional.
When planning your ticket structure, think about these questions:
- Does each tier offer a real difference or just another label?
- Can a first-time buyer choose the right option in a few seconds?
- Will the door team know what each ticket type means?
- Can you close one sales phase and open another without manual confusion?
If you are still shaping the offer, TixFlow’s guide to creating a ticketed event with a simple sales plan can help you connect pricing, timing and ticket types before you publish.
Use a ticketing platform for the operational layer
You can design a ticket graphic anywhere, but the official ticket should come from a system that controls sales, payment, delivery and check-in. That is especially true once money starts moving.
For organizers who care about cash flow, the platform behind the ticket is just as important as the look of the ticket. A polished ticket does not help if payouts are delayed, fees are unclear or you cannot adjust sales when demand changes.
A professional ticketing setup should help you manage:
- Ticket inventory by tier
- Sales phases and availability
- Promo codes and discounts
- Buyer checkout friction
- Payment processing and payouts
- Guest list access for the door team
- Changes before the event goes live
This is where a platform like TixFlow can replace a patchwork of forms, spreadsheets and manual payment links. TixFlow is built for organizers who want easy setup, flat per-ticket fees, instant payouts, no buyer registration, unlimited ticket tiers, automated sales phases, smart promo codes and digital guest lists. Its Stripe Connect integration also helps keep payment operations connected to a modern checkout flow.
The benefit is not only convenience. It gives your ticket design a reliable operational foundation. Buyers can purchase without unnecessary account creation, you can control ticket availability in real time and your team can work from a cleaner guest list instead of chasing screenshots.
Keep the checkout experience as professional as the ticket
Many organizers focus on the ticket file but overlook the steps before it arrives. Buyers judge the whole flow, from event page to checkout to confirmation.
If checkout feels slow or asks for too much, some people will abandon the purchase before they ever see your ticket. For live events, especially music events driven by social traffic, momentum matters. Someone who taps from an Instagram story or group chat should be able to understand the offer and complete the purchase quickly.
A professional checkout flow should make costs clear, keep the number of fields low and reassure buyers that they are buying from the official organizer. It should also match the visual identity of the event, so the transition from announcement to purchase does not feel disconnected.
This is one reason no buyer registration can be a meaningful advantage. Creating an account is often unnecessary for a one-time event purchase. Removing that step can make the experience feel faster and more modern, while still giving the organizer the order information needed to run the event.
Test the ticket before you announce sales
A professional ticket should be tested before your first public push. Do not wait for buyers to find problems for you.
Run a test purchase and check the full path on mobile and desktop. Look at the event page, checkout, confirmation and ticket itself. If multiple people are involved in production, ask someone outside the core team to read the ticket and explain where they would go, when they would arrive and what they bought.
Use this pre-launch checklist:
- The event name matches across the page, checkout and ticket
- Date, time, venue and age policy are correct
- Ticket tiers are named consistently
- Total price and fees are clear before purchase
- Promo codes work only as intended
- Sales phases open and close at the right times
- The door team can access the guest list
- Support contact or instructions are easy to find
For music events, also test edge cases that happen in real life. What happens if a buyer purchases multiple tickets for friends? What will your team do if someone arrives with a low-brightness phone? How will you handle names that do not match because one person bought for a group? Clear policies prevent awkward decisions at the door.
Avoid common DIY ticket mistakes
The most common mistake is treating a ticket like a mini poster. Large artwork, tiny details and decorative type may look good in a mockup, but they often fail on a phone screen.
Another issue is creating tickets manually in batches. This can work for a very small private event, but it becomes risky as soon as you sell publicly. Manual numbering, spreadsheet updates and copy-pasted buyer names create room for duplicates and data entry errors.
Organizers also run into trouble when they change ticket tiers mid-campaign without updating the buyer-facing language. If you rename a tier, close a phase or add a promo code, make sure the event page, checkout and ticket confirmation all stay aligned.
A professional system gives you one source of truth. Your design stays consistent, your sales setup stays controlled and your team does not have to reconcile three different lists before doors open.
Frequently Asked Questions
Can I make my own tickets for events without hiring a designer? Yes. You can create professional-looking tickets by using a clean layout, strong information hierarchy, readable fonts and consistent event branding. The bigger priority is making sure each ticket is valid, traceable and connected to your sales and guest list workflow.
Should I use printable tickets or digital tickets? Digital tickets are usually better for modern live events because they are fast to deliver and easier to manage. Printable tickets can still work for formal audiences or premium physical experiences, but they need a clear validation process.
What information should every event ticket include? At minimum, include the event name, date, time, venue, ticket type, ticket or order ID and short entry instructions. Add age restrictions, refund notes or access details if they affect attendance.
How do I make event tickets look more professional? Use fewer design elements, stronger contrast, clear spacing and consistent names across the event page, checkout and ticket. Professional tickets are easy to read first and attractive second.
Do I need a ticketing platform if I already have a ticket design? If you are selling tickets publicly, a platform helps manage payment, inventory, sales phases, promo codes and guest lists. A design file alone cannot protect your check-in process or cash flow.
Create professional tickets without slowing down sales
Making your own event tickets should not mean stitching together design files, payment links and spreadsheets. The professional approach is to pair a clear ticket design with a ticketing workflow that controls checkout, ticket tiers, payouts and door operations.
TixFlow gives organizers a faster way to launch ticketed events with customizable event pages, flat per-ticket fees, instant payouts, no buyer registration, automated sales phases, smart promo codes and digital guest lists.
If you want tickets that look polished and support the way your event actually runs, start with TixFlow and build a smoother ticketing experience from the first click to the front door.